
Uploading an image
Image type
What type of image would you like to upload?
| Image type* | Main website (new design) | Microsites (old design) |
|---|---|---|
| Standard content image | 392x252 | 232x131** |
| News image | 1074x500 | 534x343 |
| Events image | 534x343 and 1440x432 | 534x343 |
| Slider image for a standard page carousel | 1074x500 | 756x329 |
| Landing pods | 348x348 | 232x131 |
| Full width story | 1074x322 | N/A |
*Image types and their respective sizes for both the new and old designs. All sizes given in pixels (px).
** The new image size can also be used for standard content images. This would make any future transition to the new design easier for microsites.
What to do
Edit+ has an asset creation wizard that will guide you through the process of creating a new image. To being, click on the 'New' button, top right of the editing screen.
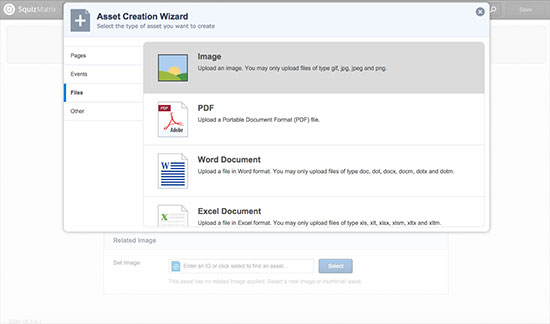
Select 'Files' and then 'Image' from the list of available assets.
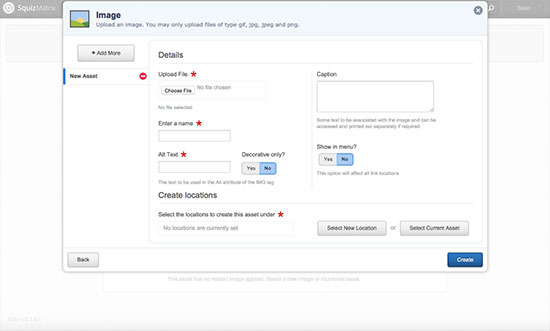
Click the 'Choose file' button and select the image you wish to upload from your PC. Enter a name for your image. Enter some Alt Text for your image, this will show up if someone hovers their mouse over the image and will be used by screen readers. Change 'show in menu' to No then press the 'Select New Location' button to choose where to create your new image.
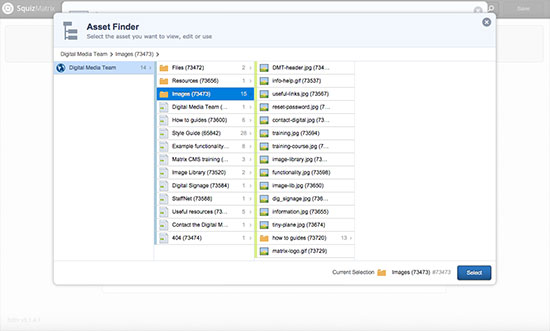
'Select New Location' will pop-up the Asset Finder which lists all of the pages/images/files within the website. It displays assets in a folder structure layout with the top level of the site being displayed on the left and sub sections being listed underneath these. Choose the images folder most appropriate for your new image, the images folder is broken down into sub folders for each area of the website, highlight it in blue and then click 'Select'. The Asset Finder will close and you will be returned to the previous screen. Click 'Create' to upload your new image.
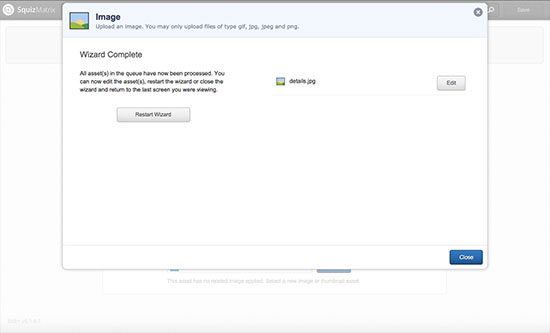
Once the image has been uploaded you will see the 'Wizard Complete' screen. You can edit your new image by clicking on the 'Edit' button on the right hand side or restart the wizard to create an additional new image.
Make sure that once your image has been uploaded you change the status to Apply for Approval or Live. If this is not done then the image will not appear for the general public.